Wednesday, October 29, 2014

Something new in 12c: FETCH FIRST x ROWS

In this post I want to show some example of using a new feature in 12c for selecting the first X number of records from the results set of a query.

See the bottom of this post for the background and some of the reasons for this post.

Before we had the 12c Database if we only wanted to see a subset or the initial set of records from the results of a query we could add something like the following to our query

...

AND ROWNUM <= 5;

The could use the pseudo column ROWNUM to restrict the number of records that would be displayed. This was particularly useful when the results many 10s, 100s, or millions of records. It allowed us to quickly see a subset and to see if the results where what we expected.

In my book (Predictive Analytics Using Oracle Data Miner) I had lots of examples of using ROWNUM.

What I wasn't aware of when I was writing my book was that there was a new way of doing this in 12c. We now have something like the following:

...

FETCH FIRST x ROWS ONLY;

There is an example:

SELECT * FROM mining_data_build_v

FETCH FIRST 10 ROWS ONLY;

Fetch first 1

There are a number of different ways you can use the row limiting feature. Here is the syntax for it:

[ OFFSET offset { ROW | ROWS } ]

[ FETCH { FIRST | NEXT } [ { rowcount | percent PERCENT } ]

{ ROW | ROWS } { ONLY | WITH TIES } ]

In most cases you will probably use the number of rows. But there many be cases where you might what to use the PERCENT. In previous versions of the database you would have used SAMPLE to bring back a certain percentage of records.

select CUST_GENDER from mining_data_build_v

FETCH FIRST 2 PERCENT ROWS ONLY;

This will set the first 2 percent of the records.

You can also decide from what point in the result set you want the records to be displayed from. In the previous examples above the results displayed will befing with the first records. In the following example the results set will be processed to record 60 and then the first 5 records will be selected and displayed. This will be records 61, 62, 63, 64 and 65. So the first record processed will be the OFFSET record + 1.

select CUST_GENDER from mining_data_build_v

OFFSET 60 ROWS FETCH FIRST 5 ROWS ONLY;

Similar to the PERCENT example above you can use the OFFSET value, for example.

select CUST_GENDER from mining_data_build_v

OFFSET 60 ROWS FETCH FIRST 2 PERCENT ROWS ONLY;

This query will go to records 61 and return the next 2 percent of the records.


The background to this post

There are a number of reasons that I really love attending Oracle User Group conferences. One of the challenges I set myself is to go to presentations on topics that I think I know or know very well. I can list many, many reasons for this but there are 2 main points. The first is that you are getting someone elses perspective on the topic and hence you might learn something new or understand it better. The second is that you might actually learn something new, like some new command, parameter setting or something else like that.

At Oracle Open World recently I attended the EMEA 12 things about 12c set of presentations that Debra Lilly arranged during the User Group Forum on the Sunday. During these session Alex Nuijten gave an overview of some 12c new SQL features. One of these was the command FETCH FIRST x ROWS. This blog post illustrates some of the different ways of using this command.
Friday, October 10, 2014

Installing Oracle 12.1.0.2 on Windows 64bit

The following steps are what I did for installing 12.1.0.2 on Windows.

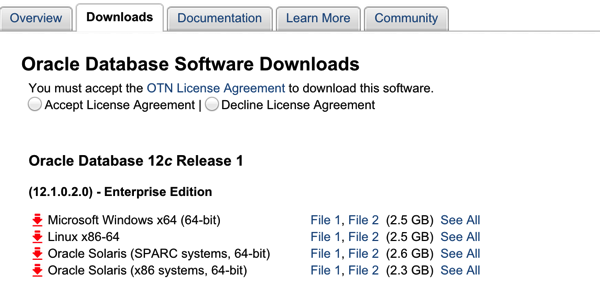
1. Download the Oracle installation ZIP files from the Oracle Downloads page.

DB Install 15

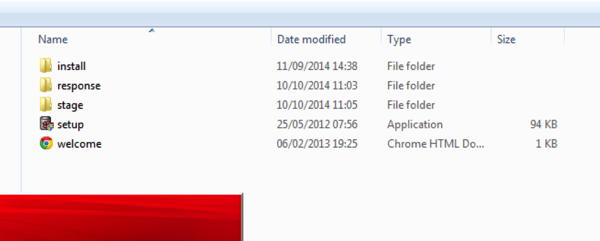
2. Unzip the two 12c downloads files into the same directory.

3. Go to the newly created directory (it is probably called 'database') and you will find a file called setup.exe. Double click on this file.

DB Install 1

After a couple of seconds you will see the Oracle Database 12c splash screen.

DB Install 2

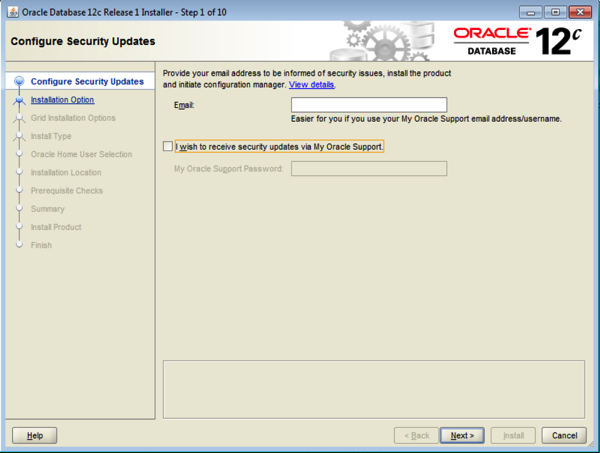
4. Step 1 : Configure Security Updates : Un-tick the tick-box and click the Next button. A warning message will appear. You can click on the Yes button to proceed.

DB Install 3

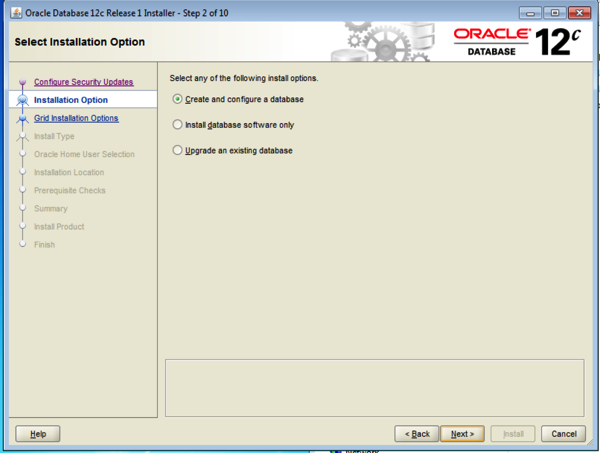
5. Step 2 : Installation Options : select the Create and Configure a Database option and then click the Next button.

DB Install 4

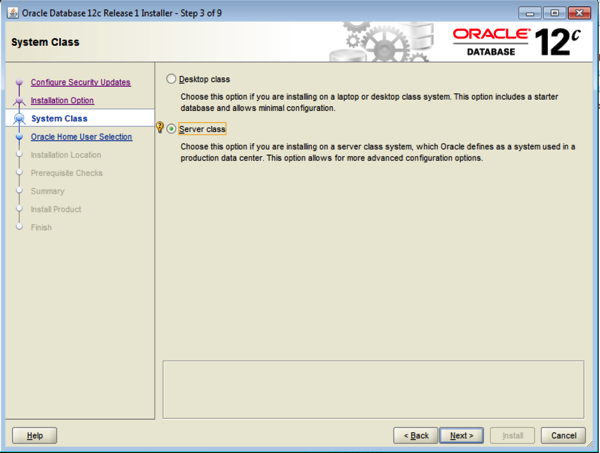
6. Step 3 : System Class : Select the Server Class option and then click the Next button.

DB Install 5

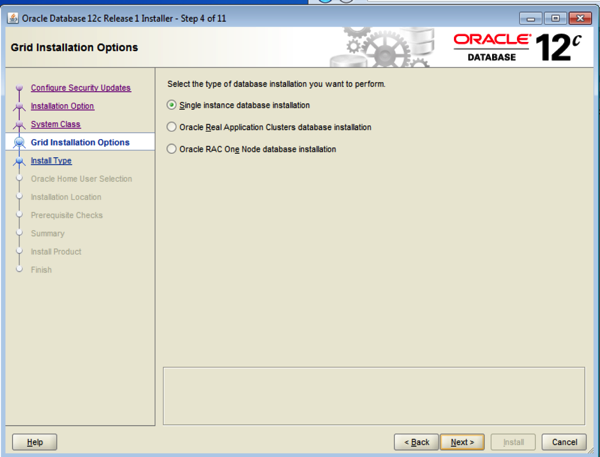
7. Step 4 : Grid Installation Options : Select the Single Instance Database Installation option and then click the next button.

DB Install 6

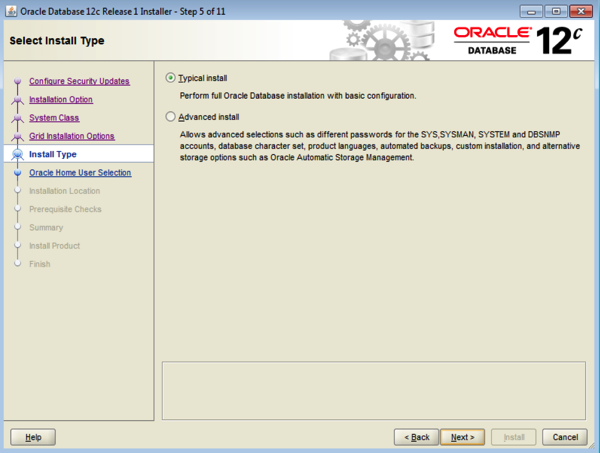
8. Step 5 : Select Install Type : Select the Typical install option and then click the Next button.

DB Install 7

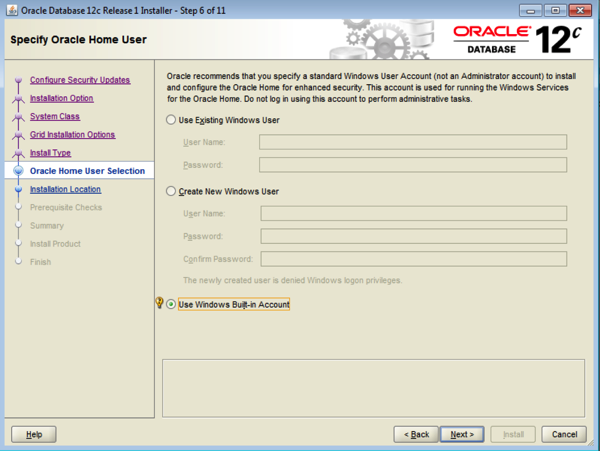
9. Step 6 : Oracle Home User Selection : Select the Use Windows Built-in Account option and then click the Next button. A warning message appears. Click the Yes button.

DB Install 8

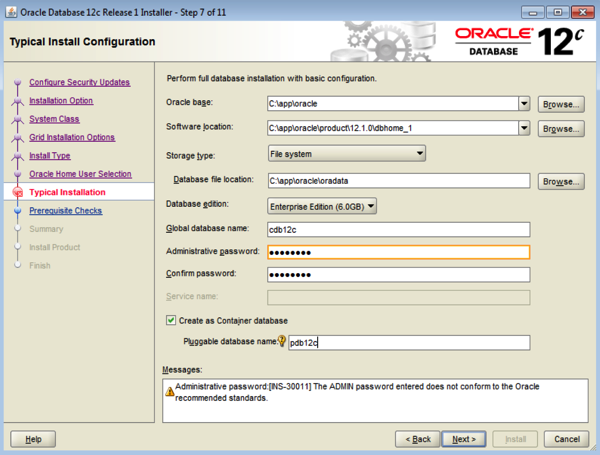
10. Step 7 : Typical Install Configuration : Set Global Database Name to cdb12c for the container database name. Set the Administrative password for the container database. Set the name of the pluggable database that will be created. Set this to pdb12c. Or you can accept the default names. Then click the Next button. If you get a warning message saying the password does not conform to the recommended standards, you can click the Yes button to ignore this warning and proceed.

DB Install 9

11. Step 8 : Prerequisite Checks : the install will check to see that you have enough space and necessary permissions etc.

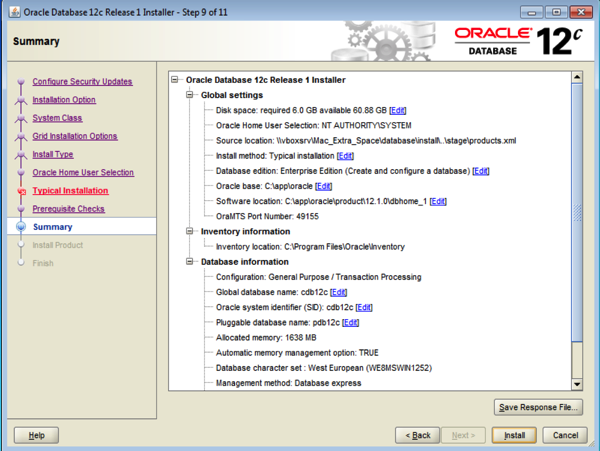
12. Step 9 : Summary : When the prerequisite checks (like checking you have enough space and privileges) are finished you will get a window like the following.

DB Install 10

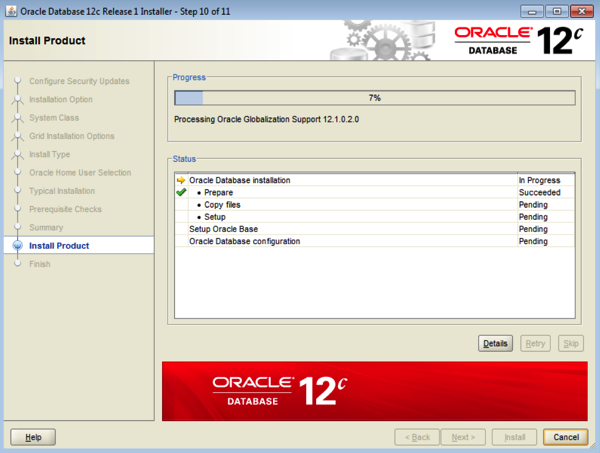
13. Step 10 : Install : You are now ready to start the install process. To do this click on the Install button in the Summary screen.

DB Install 11

You can now sit back, relax and watch the installation of 12.1.0.2c (with the in-memory option) complete.

You may get some Windows Security Alert windows pop up. Just click on the Allow Access button.

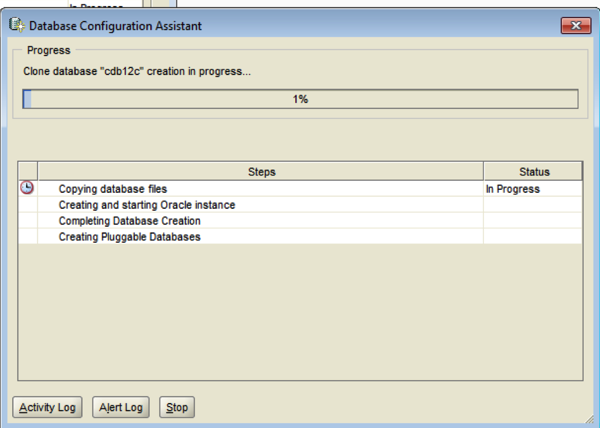
Then the Database Configuration Assistant will start. This step might take a while to complete.

DB Install 12

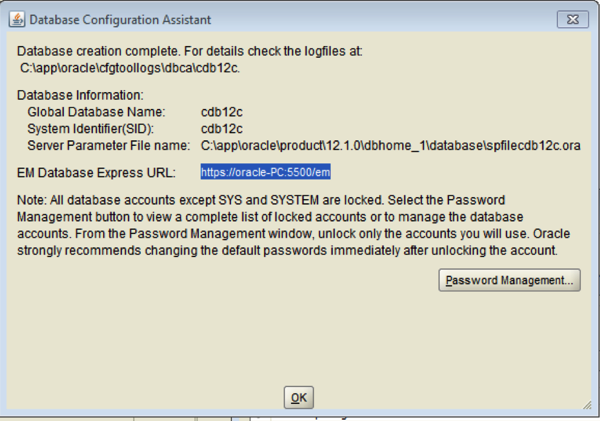
When everything is done you will get something like the following.

DB Install 13


Congratulations you now have Oracle Database 12.1.0.2c installed.

But you are not finished yet!!!

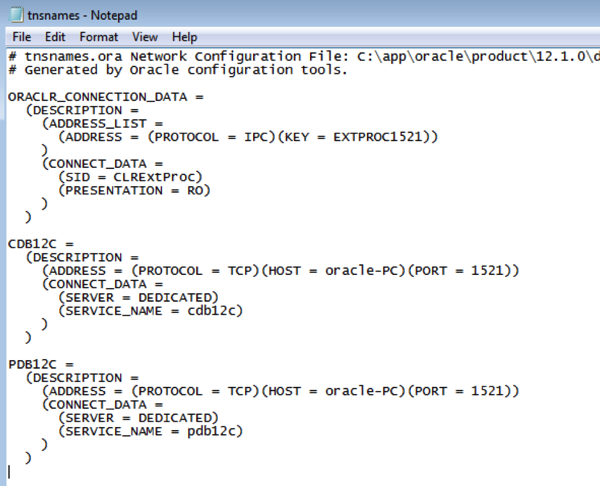
14. Add entry to TNSNAMES.ORA : you will need to add an entry to your tnsnames.ora file for the pluggable database. There is be an entry for the container DB but not for the pluggable. Here is what I added to my tnsnames.ora.

DB Install 14


The last step you need to do is to tell the container database to start up the pluggables when you reboot the server/laptop/PC/VM. To do this you will need to create the following trigger in the container DB.

sqlplus / as sysdba

CREATE or REPLACE trigger OPEN_ALL_PLUGGABLES

    after startup

    on database

BEGIN

    execute immediate 'alter pluggable database all open';

END open_all_pdbs;

Restart your database or machine and you plug gage DB 'pdb12c' will no automatically start.

You are all finished now :-)

Enjoy :-)